Introduction/Motivation:
I've always wanted a RC car. The last RC car that I have when I was a child was one of those old crappy wired one because I couldn't afford the wireless one. Now that I've obtained enough engineering skills in the field of electrical/mechanical and software I've decided to just build my own.
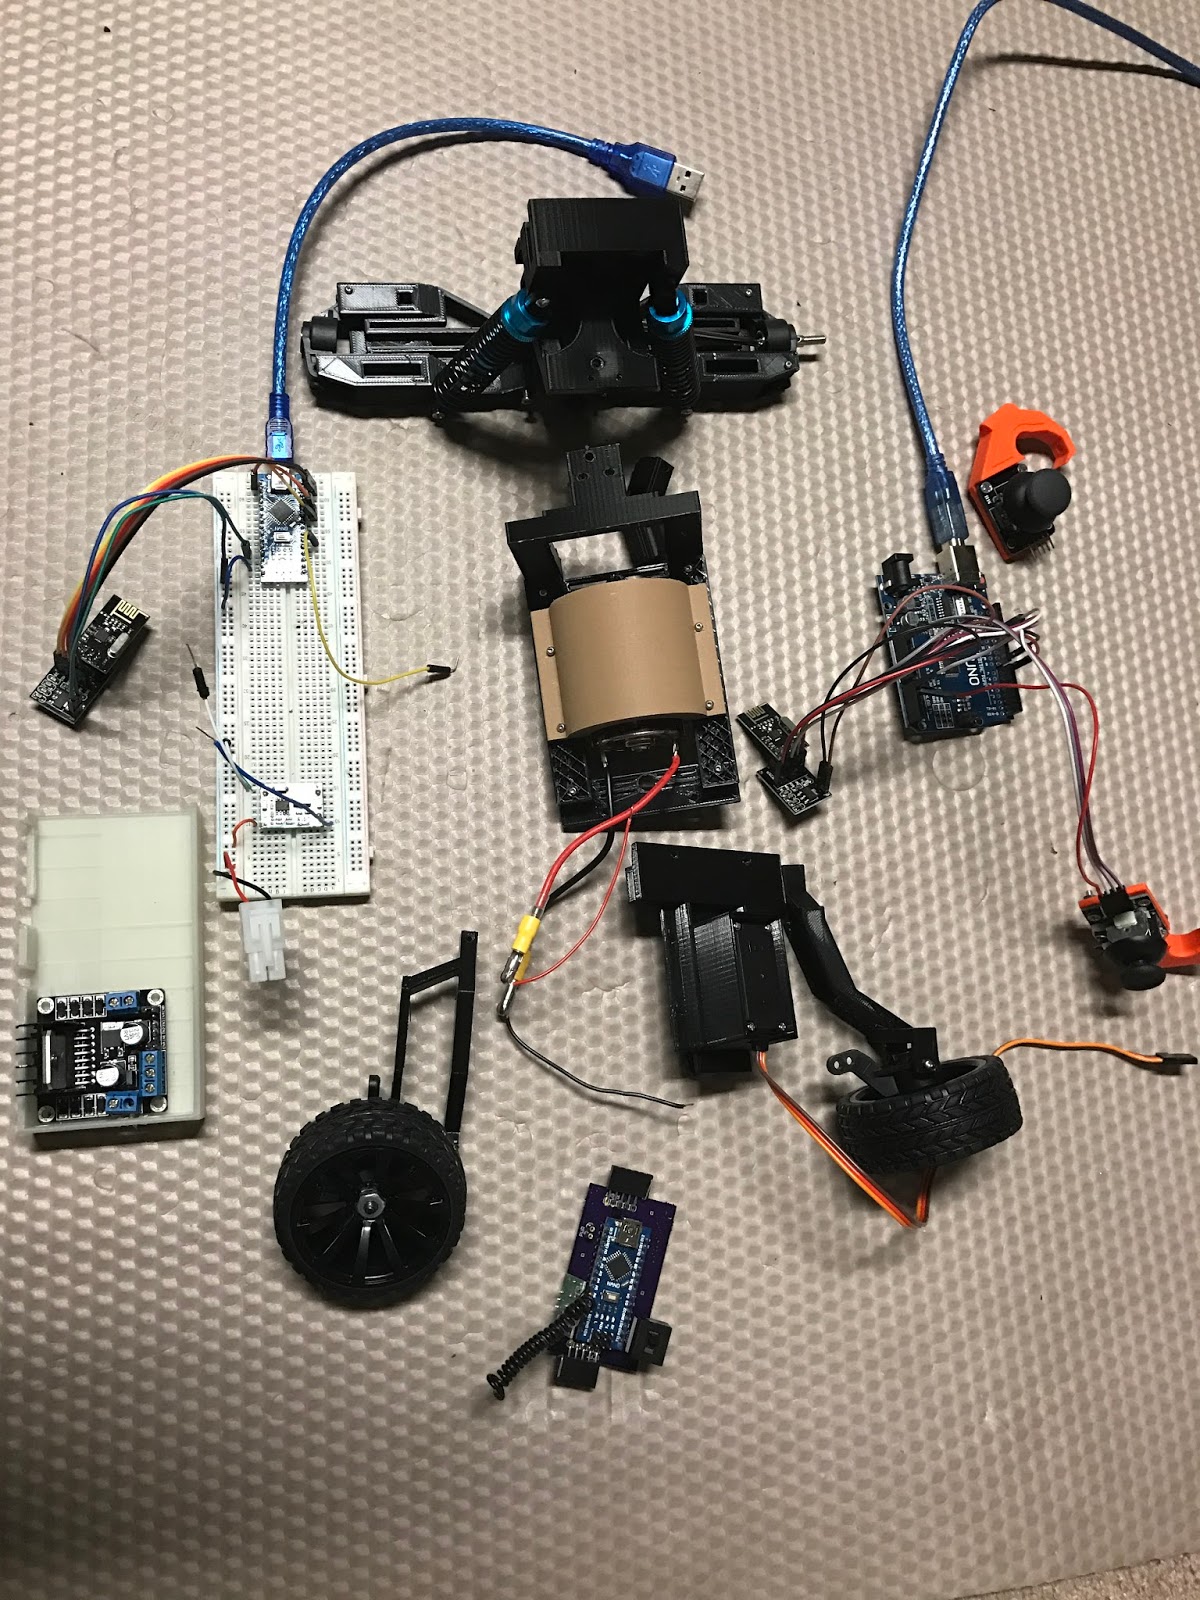
The idea is to use 2 microcontrollers that talk to each others via the RF. That sounds simple enough.
I bought a pair of 422Mhz Transmitter and Receiver and they worked great. YAY!. The price was very cheap too. A pair for a staggering 70c from eBay and hey! what could go wrong right? Next thing I know, well it's kind of my fault I shorted the receiver due to my stupidity when I left the solder wire in the open when I was testing out my motor driver. So when the receiver got fried I bought another pair on eBay and now the range is literally limited by 1m. So I'm going to remodel my entire design for optimization and performance. Here's the list of parts that I was getting. You can easily find these on eBay or Amazon. If you are first using amazon don't forget to contact me for that sweet sweet first timer deal hehe.
 Transmitter parts:
1 Arduino nano
1 9v battery
2 Joystick breakout boards
1 OLED display module
1 switch
1 NRF24L01 Transciever module sitting on top of its 5V adapter.
Receiver Parts:

1 9.7V LiPo Battery
1 High Torque Servo
1 High Torque Brushed DC Motor
1 L98N Motor Driver
multiple resistors
1 5V regulator
1 Buck converter
1 NRF24L01 Transceiver module
2/3/2017
Choosing The RF Devices
To begin with. I started with the 433 Mhz pair of transmitter and receiver. You can find these on eBay for as cheap as 70 cents a pair.
Then I fried it on accident (which I'm kind of glad I did) when I was testing out my PCB design. I acidentally place my PCB righ on top of the solder wire which happens to be on the way of the 12V and the GND pin. I burned the wire and fried my Arduino nano along with the receiver that was on the board. So the lesson here is please don't make the same mistake that I did and always put your solder away when you are done.
After I fried it I bought a new pair (waste of my money) and the new pair doesn't work as well as the last pair. It was giving me some horrible range of 2 meters max. I literally wanted to smack myself in the face. Anyway I was looking at a new devices and here's what I found.
1. NRF24L01 WiFI 2.4Ghz transceiver
2. HC-05
3. HM-10
We have the HM-10 blue module which is compatible with ble 4.0. Which means we can run it on my iPhone. Cool, I'll get into that on the next project. Right now I just want to finish up with this RC vehicle project.
 I'm a little bit happy and sad at the same time looking at these. They are not completely perfect but they're taking shape. Slowly anyway. The printer that I'm using is the MP select Mini, which is a fantastic printer for just under $200. It's my new game console, I love it.
I'm re-designing my controller and I'm adding a LCD screen to report battery life and maybe position of the Receiver and maybe other things.
2/4/2017
Current challenges:
 1. I still need to work on the output joint shaft it does not fit very well with the differential output.
2. Print out a spacer between the chassis and the rear tower so that they match.
3. Design the front shock mechanism.
On the right is my Chassis, which consists of a motor holder that is printer out using wood filament. It came out so nicely. And below it is gate that connects to the rear tower, problem is the rear tower is printer with 20% infill so it is very weak. when I tight it in the surfaces literally gets compressed. I might have to redesign it.

Everything you see here is designed by me. Please feel free to contact me if you want to the STL files.
-Kyle-
2/8/2017
The Re-designing
I'm performing major upgrades for my RC including better front axle and steering system. The old steering system does not work very well. The old axle are also not performing as well as I thought. Mainly because the two wings are separated. So when the car weights down in the middle, the shocks alone can not handle that much weight. Now I'm printing a connected front axle system.


2/14/2017
February Updates

Same deal for the rear axle system. The new design will connect left and right axle as well as adding better suspension using metal links.

And here is a picture of my 3D printer printing out one of my gears.

No comments:
Post a Comment